Laser-optical control of slotted gaps
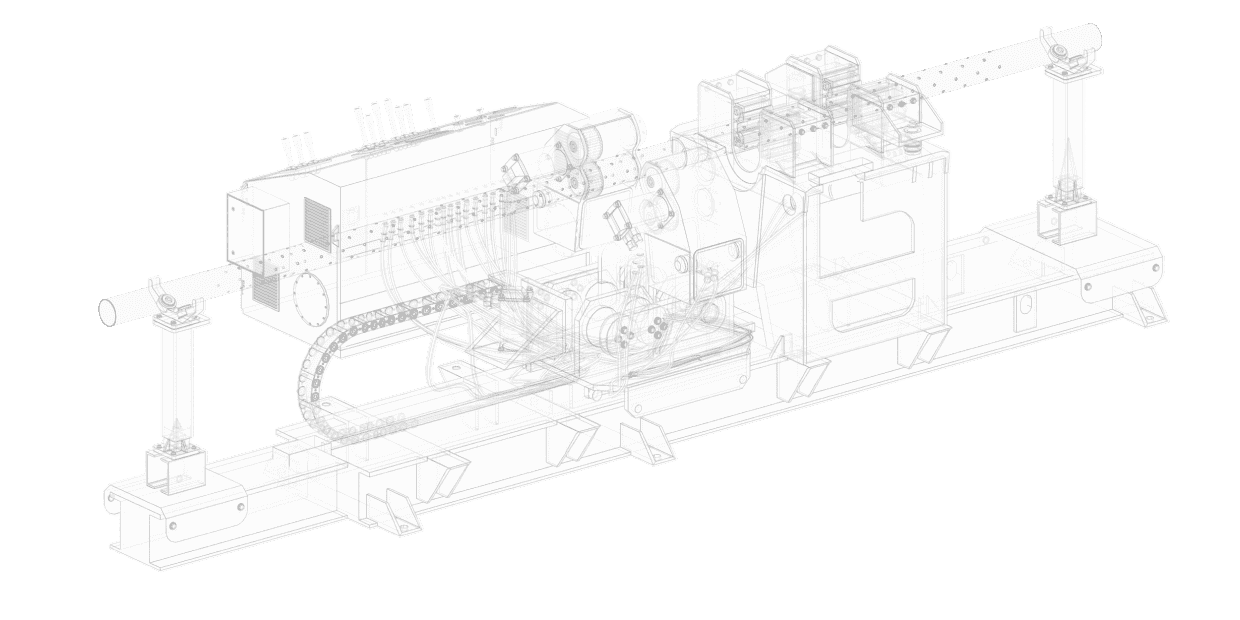
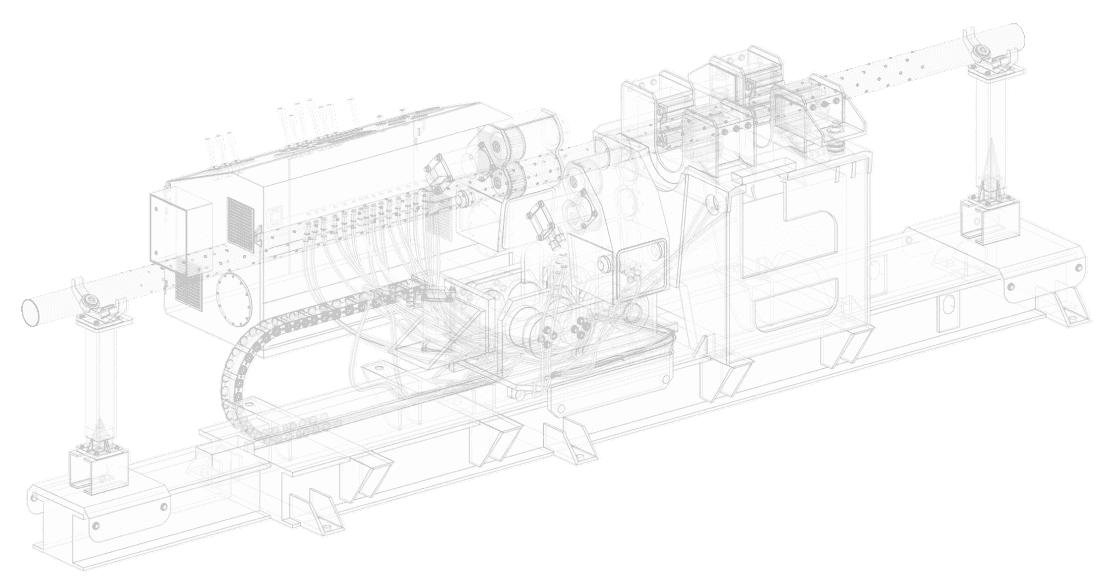
A special inspection machine Kvantron NF 150 was developed to carry out laser-optical inspection of slotted gaps. The inspection machine operation is based on the principle of an optical non-contact method for determining the gap size. The purpose of this testing is:
Specifications
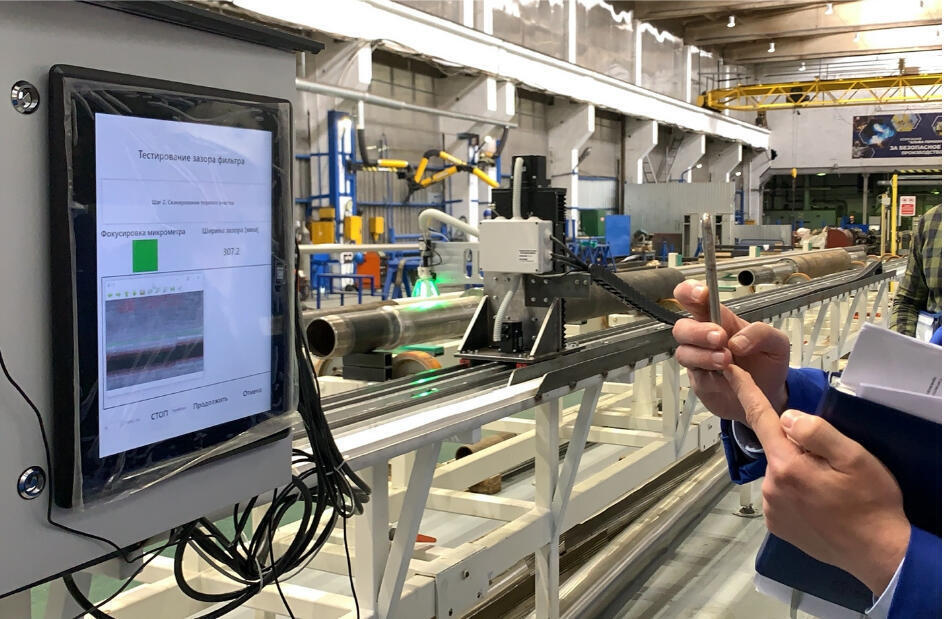
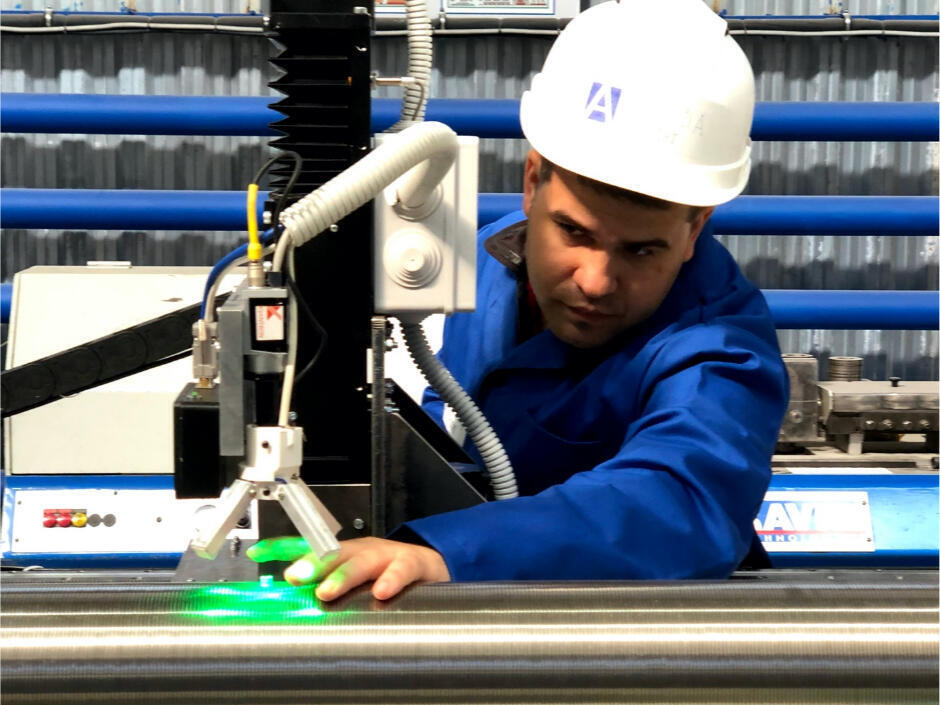
The basis of the system is an optical scanner or micrometer, which consists of an industrial CMOS sensor, a bi-telecentric aberration-free lens and industrial illumination of the measured area. The inspection machine control is built through the graphical interface of the touch screen of the system computing unit.
The inspection machine operator logs in and selects the appropriate filter slot test program. After the automatic self-tuning procedure, the system starts scanning the filter surface. The image from the scanner sensor goes to the computing unit for further processing.
Based on mathematical algorithms and data from external and internal calibration of the system, a calculation is made based on the values of the tested filter surface slotted gaps. Data on these calculations are displayed on the computer system in real time.

Thus, the inspection machine makes possible to produce:


